
Ensuring the optimal performance and security of your Windows 10 system involves proactive driver management. Unsigned drivers, lacking Microsoft’s verification, can pose security risks and compatibility concerns. In this comprehensive guide, we’ll detail the steps to remove these unsigned drivers, enhancing the overall stability and security of your Windows 10 environment. Following the outlined steps diligently ensures that only signed and trusted drivers are integral to your system.
Summary Table:
| Step | Explanation |
|---|---|
| 1. Open Device Manager | Navigate to Device Manager on your Windows 10 system. |
| 2. Locate the Unsigned Driver | Identify the unsigned driver in the respective device category. |
| 3. Right-click and Uninstall | Right-click on the driver, select “Uninstall,” and follow the prompts to remove it. |
| 4. Delete Driver Software | During uninstallation, choose the option to delete the driver software for complete removal. |
| 5. Confirm Removal | Confirm the removal of the unsigned driver to complete the process. |
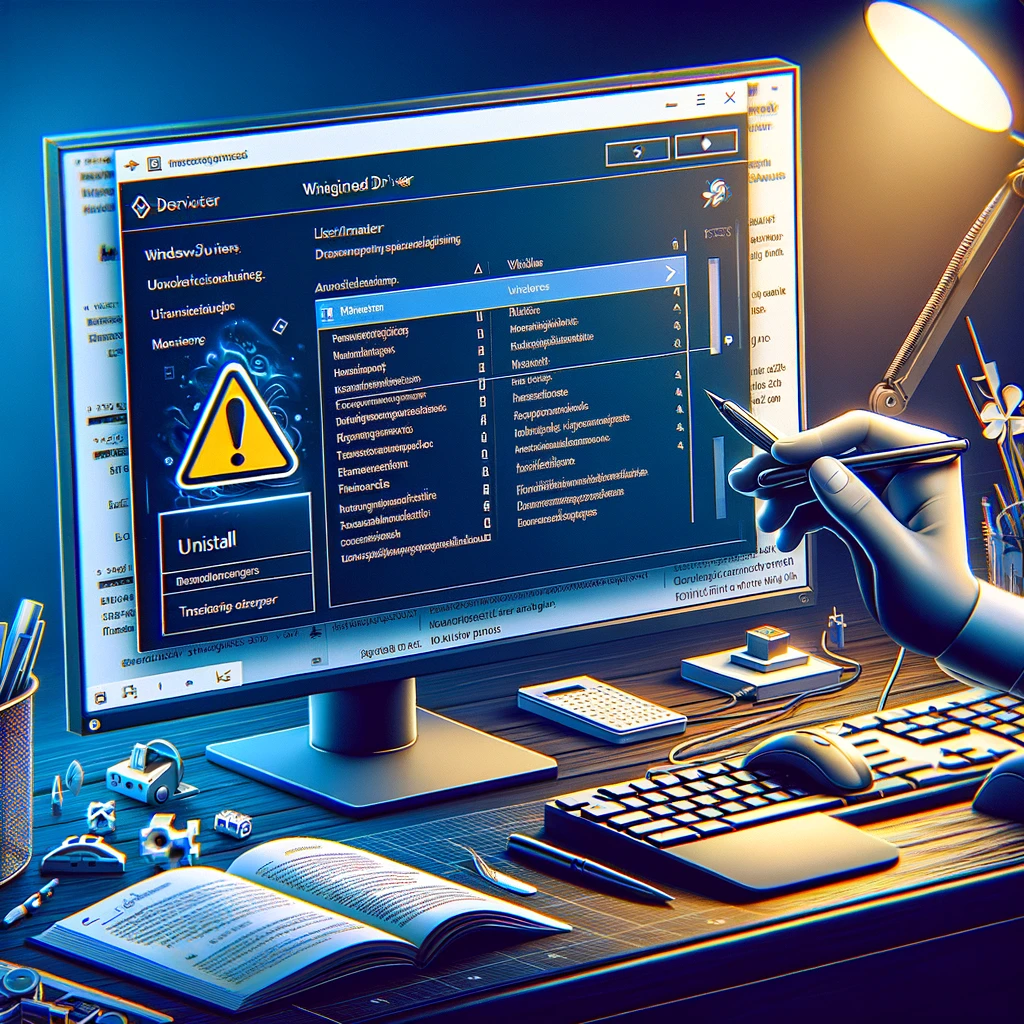
How to Remove Unsigned Drivers in Windows 10?
Removing unsigned drivers in Windows 10 is crucial for system stability and security. Follow these steps:
1. Open Device Manager:
Navigate to Device Manager on your Windows 10 system. You can access it through the Control Panel or by right-clicking the Start button and selecting “Device Manager.”
2. Locate the Unsigned Driver:
Identify the unsigned driver in the respective device category. Look for devices marked with a caution symbol.
3. Right-click and Uninstall:
Right-click on the unsigned driver, select “Uninstall,” and follow the prompts to initiate the removal process.
4. Delete Driver Software:
During the uninstallation process, choose the option to delete the driver software. This ensures complete removal from your system.
5. Confirm Removal:
Confirm the removal of the unsigned driver to complete the process. Restart your system if prompted.
FAQ – Removing Unsigned Drivers in Windows 10:
1. Why are unsigned drivers a security risk?
- Unsigned drivers haven’t been verified by Microsoft, potentially exposing your system to malware or instability.
2. Can I reinstall unsigned drivers later?
- Yes, but it’s not recommended. Reinstalling unsigned drivers may reintroduce security risks and compatibility issues.
3. What if Windows automatically reinstalls unsigned drivers?
- Disable automatic driver updates in Windows Update settings to prevent the automatic reinstallation of unsigned drivers.
4. Are all unsigned drivers harmful?
- Not necessarily, but they lack the Microsoft signature, making them a potential risk. Remove them if you encounter issues.
5. Can I remove multiple unsigned drivers simultaneously?
- Yes, you can uninstall multiple unsigned drivers one by one following the same process in Device Manager.
How to Find Unsigned Drivers in Windows 10?
Identifying unsigned drivers in Windows 10 is crucial for system security and stability. Follow these steps to locate unsigned drivers on your Windows 10 system:
- Access Device Manager:
- Right-click on the Start Menu and select “Device Manager” to open it.
- Expand Device Categories:
- In Device Manager, expand the categories related to the hardware you’re investigating, such as “Display adapters” or “Network adapters.”
- Right-Click on Device:
- Right-click on a specific device, select “Properties,” and go to the “Driver” tab.
- Check Digital Signer Information:
- Under the Driver tab, check the “Digital Signer” information. If it says “Not digitally signed,” the driver is unsigned.
- Repeat for Other Devices:
- Repeat these steps for other devices in Device Manager to identify any unsigned drivers.
By following these steps, you can pinpoint unsigned drivers on your Windows 10 system, helping ensure the security and reliability of your hardware.
How to Disable Signed Drivers in Windows 10?
Disabling signed drivers in Windows 10 can be necessary for advanced troubleshooting or specific requirements. Follow these steps to disable signed driver enforcement:
- Access Advanced Startup Options:
- Open the “Start Menu,” hold the Shift key, and click on “Restart” to access the Advanced Startup Options.
- Navigate to Troubleshoot > Advanced Options:
- In the Advanced Startup Options, navigate to “Troubleshoot” and then “Advanced options.”
- Disable Driver Signature Enforcement:
- Under Advanced Options, select “Startup Settings.”
- Choose “Disable driver signature enforcement” by pressing the corresponding number key.
- Restart Your Computer:
- After selecting the option, your computer will restart with driver signature enforcement disabled.
By following these steps, you can temporarily disable signed driver enforcement in Windows 10, allowing you to install and use unsigned drivers if necessary.
What to Do with Unsigned Drivers?
Encountering unsigned drivers in Windows 10 raises concerns about security and stability. Here are recommended actions to take when dealing with unsigned drivers:
- Verify Source:
- Ensure the unsigned driver comes from a reliable and trusted source. Download drivers only from official manufacturer websites.
- Contact Manufacturer:
- Check the manufacturer’s website for signed and updated drivers. If none are available, contact the manufacturer for guidance.
- Consider Alternatives:
- Explore alternative hardware or devices that have signed drivers available for Windows 10 compatibility.
- Contact Support:
- If the hardware is essential, contact the device manufacturer’s support for assistance in resolving the issue or obtaining signed drivers.
- Evaluate Risks:
- Understand the risks associated with using unsigned drivers, as they may impact system stability and expose your computer to potential security vulnerabilities.
By taking these steps, you can make informed decisions regarding unsigned drivers, prioritizing security and stability on your Windows 10 system.
How to Silent Install Unsigned Drivers in Windows 10?
Performing a silent install of unsigned drivers in Windows 10 requires specific steps to bypass the default driver signature enforcement. Follow these instructions for a silent installation:
- Disable Driver Signature Enforcement:
- Use the steps mentioned earlier to disable driver signature enforcement in the Advanced Startup Options.
- Access Device Manager:
- Right-click on the Start Menu and select “Device Manager.”
- Install Unsigned Driver:
- Right-click on the device that requires the unsigned driver.
- Select “Update driver” and choose the option to install the driver manually.
- Select the Unsigned Driver:
- When prompted, choose the option to install the driver from a specific location.
- Select the folder containing the unsigned driver files.
- Complete the Installation:
- Follow on-screen prompts to complete the installation of the unsigned driver.
- Restart Your Computer:
- After installation, restart your computer to apply the changes.
By following these steps, you can perform a silent installation of unsigned drivers in Windows 10. Keep in mind that this approach involves disabling a security feature, so exercise caution and ensure the source of the unsigned driver is trustworthy.
Summary:
In this guide, we’ve outlined the steps to remove unsigned drivers in Windows 10, emphasizing the importance of maintaining system security and stability. By navigating to Device Manager, identifying unsigned drivers, and uninstalling them with the option to delete associated software, you ensure a clean driver environment. If you have further questions or encounter challenges, feel free to comment below. Keep your Windows 10 system optimized and secure by removing unsigned drivers effectively!