It can be very stressful to lose your contacts on an Android phone. Your contact list has all the important phone numbers and information for people you’ve known for years. But what if you delete your close ones and important contacts by accident?
Fortunately, there are several methods you can use to recover contacts on an Android device. In this guide, we’ll walk through all the steps to get your crucial contact information back no matter how you lost it.
How to Recover Contacts from Google Account Backup
If you had enabled contact syncing for your Google account on your Android then your contacts are likely to be backed up to your Google account already. So, it can be easy for you to restore them from your online backup.
Note: Make sure you are signed into the same Google account that had your contacts synced.
- Open the Contacts app.
- Tap on Fix & manage at the bottom.
- Tap on Settings.
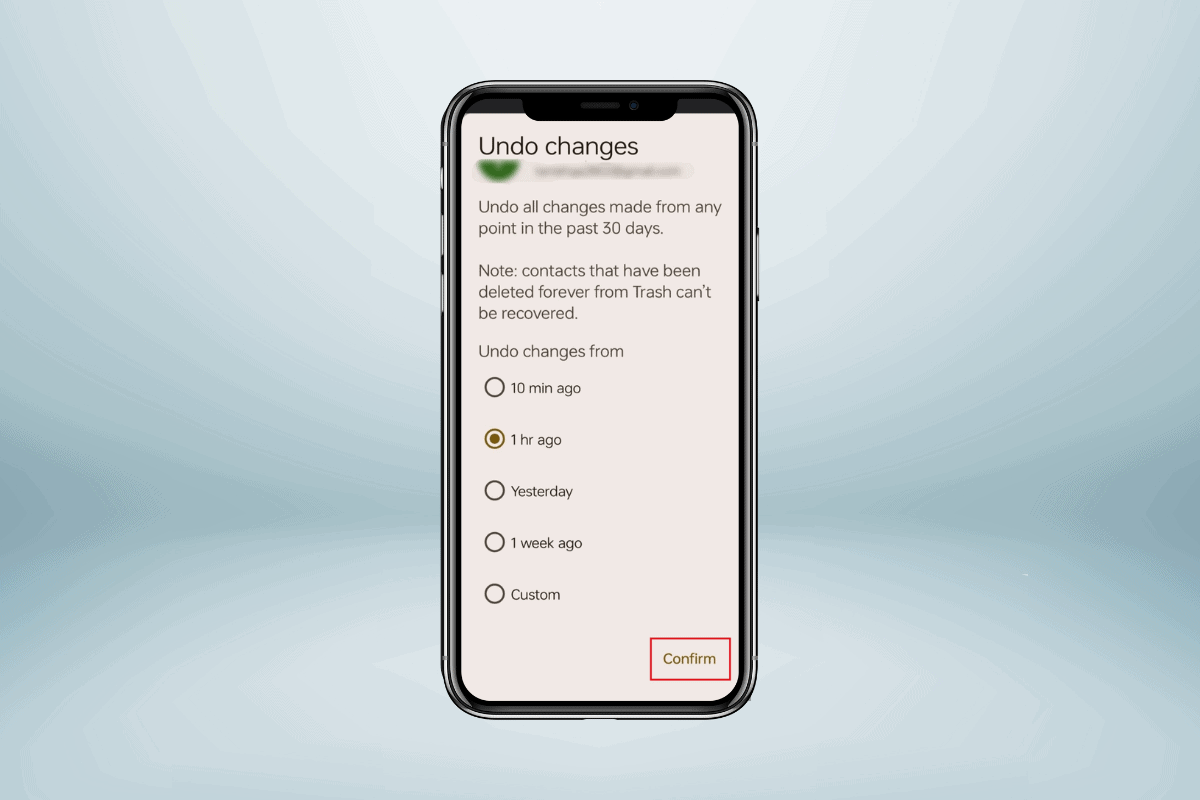
- Tap on Undo changes.
- Choose the Google account on which the contacts are synced.
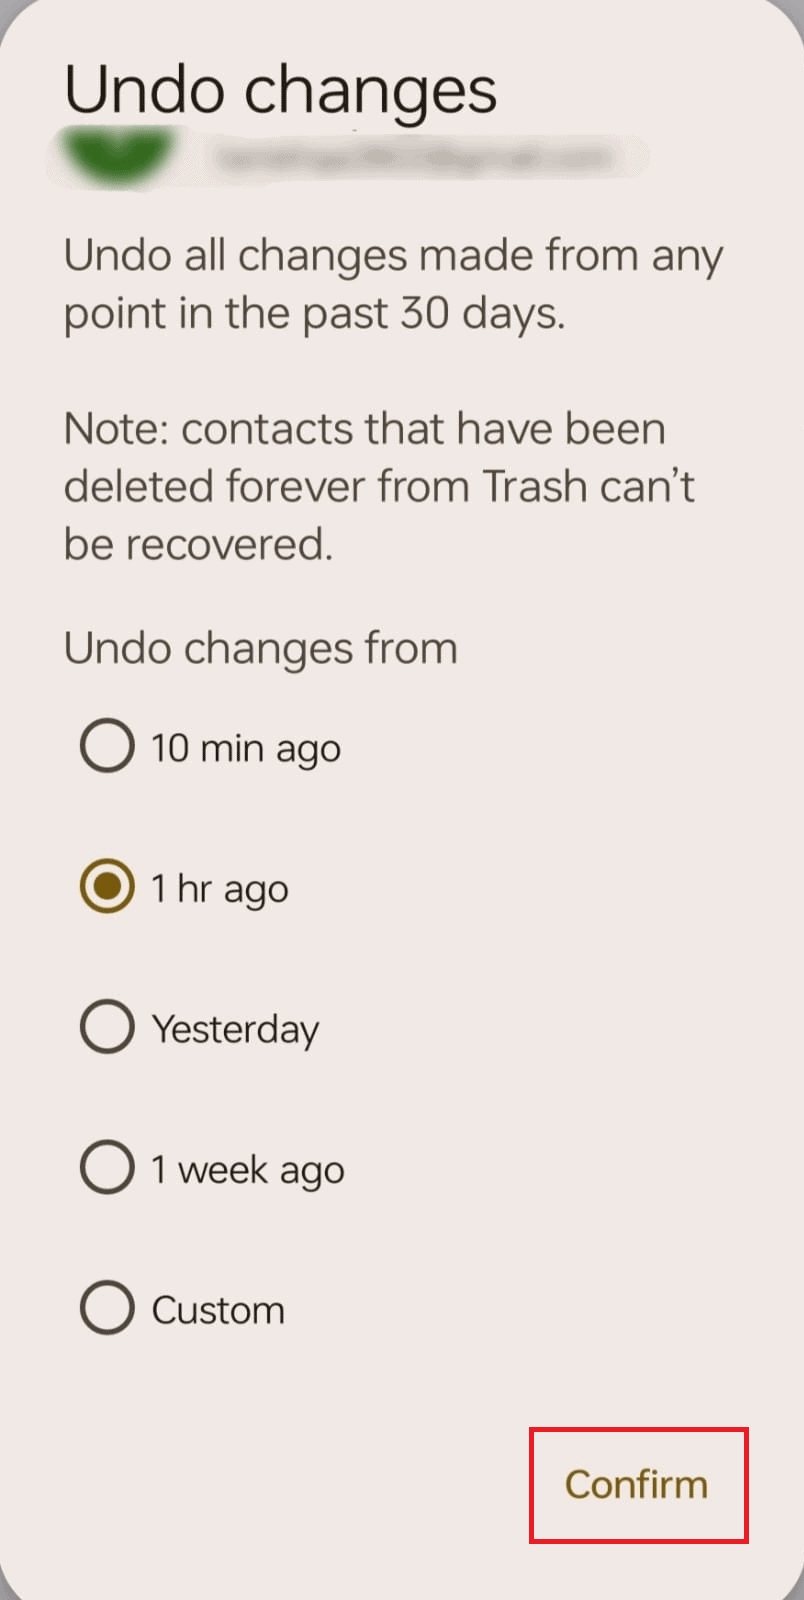
- Select a time period to undo changes from- you can choose preset options like 1 hour ago or 1 week ago, or select Custom to pick a specific date/time.
- Tap on Confirm.
- You’ll get a pop-up that your contacts list will be changed back to how it was at that specific time you chose.
- Tap on OK.
How to Recover Deleted Contacts on Android Device
Follow the steps mentioned below to recover deleted contacts on an Android device:
- Open the Contacts app.
- Tap on Fix & manage at the bottom.
- Tap on Trash.
- Any contact deleted in the last 30 days will be displayed here.
- Tap on the three dots in the top right corner.
- Tap on Select.
- Now, select the contacts you want to restore by tapping on them.
- Tap on three dots again.
- Tap on Recover.
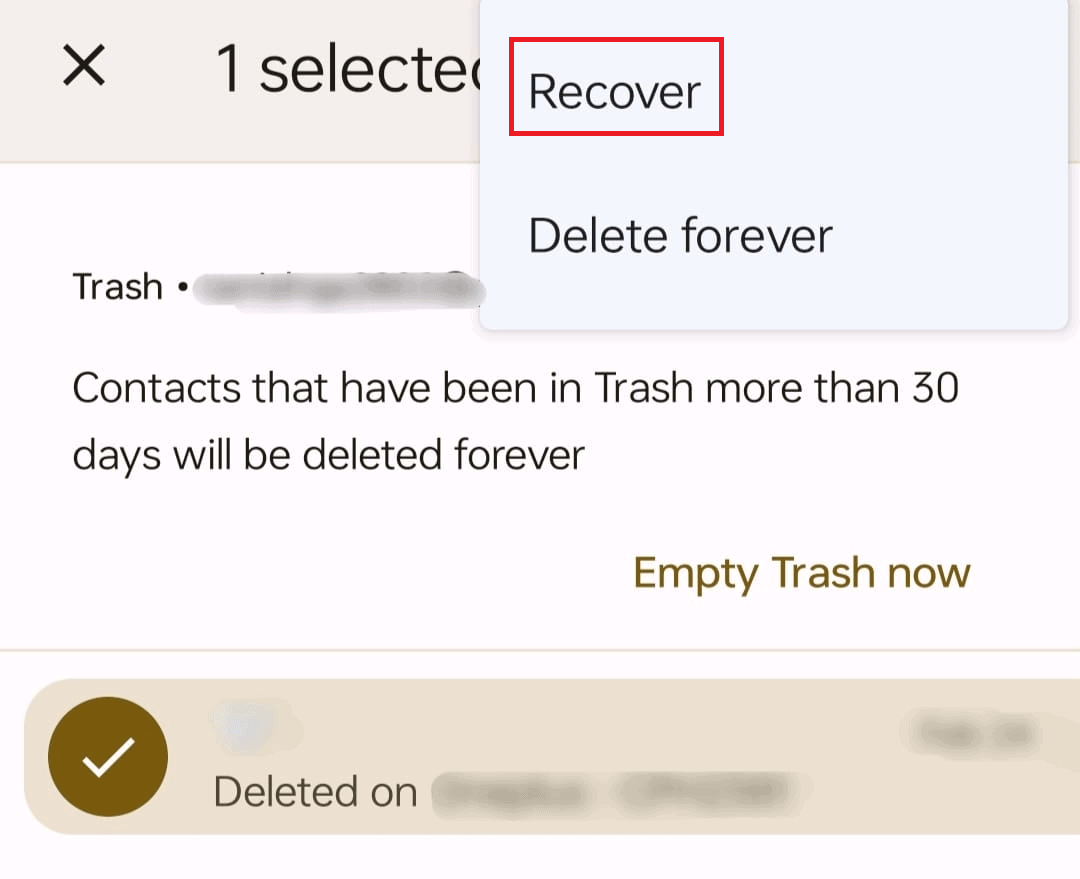
Note- You can tap on Select All instead of select in Step 6 to restore all the contacts and follow the same steps.
How to Recover Contacts on Android without Google Account Backup
Follow the steps mentioned below to recover contacts on Android without Google account backup:
- Download and install the Wondershare Dr.Fone on your computer.
- Click on Toolbox on the left panel.
- Click on Data Recovery.
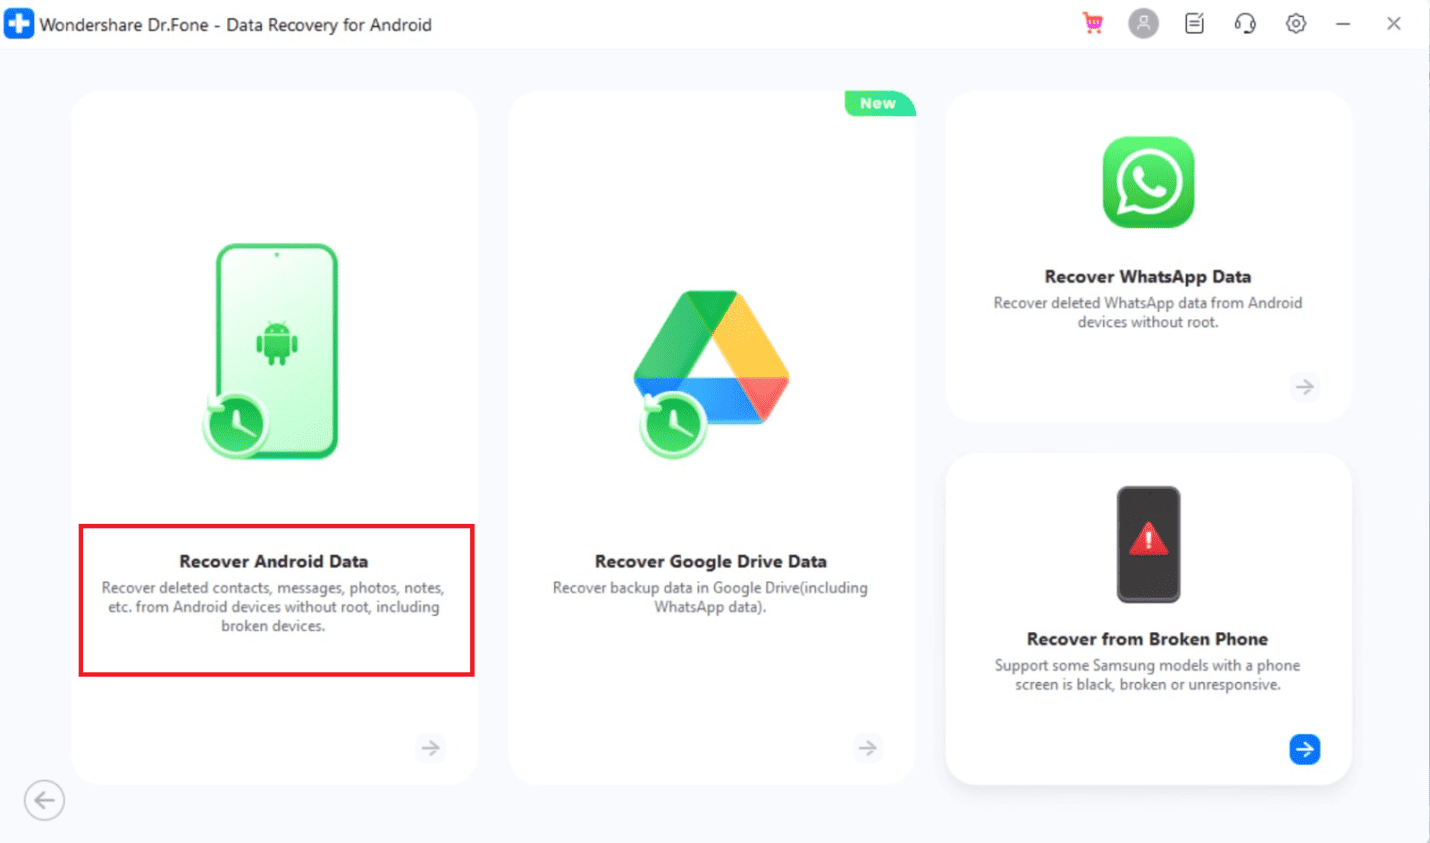
- Now, Select Android.
- Click on Recover Android Data.
- Connect your phone to your computer using a data cable and follow the on-screen instructions.
- After the device is detected, all the files that are available for recovery will appear.
- Tick the checkbox next to Contacts.
- Click on Start Scan.
- After the information is fetched, click on Contacts on the left panel.
- Click on Restore to Device.
- Your contacts will now be restored to your computer.
- You can copy the data to your mobile anytime.
How to Recover Contacts on a Broken Android Phone
Follow the steps mentioned below to recover contacts on a broken Android phone:
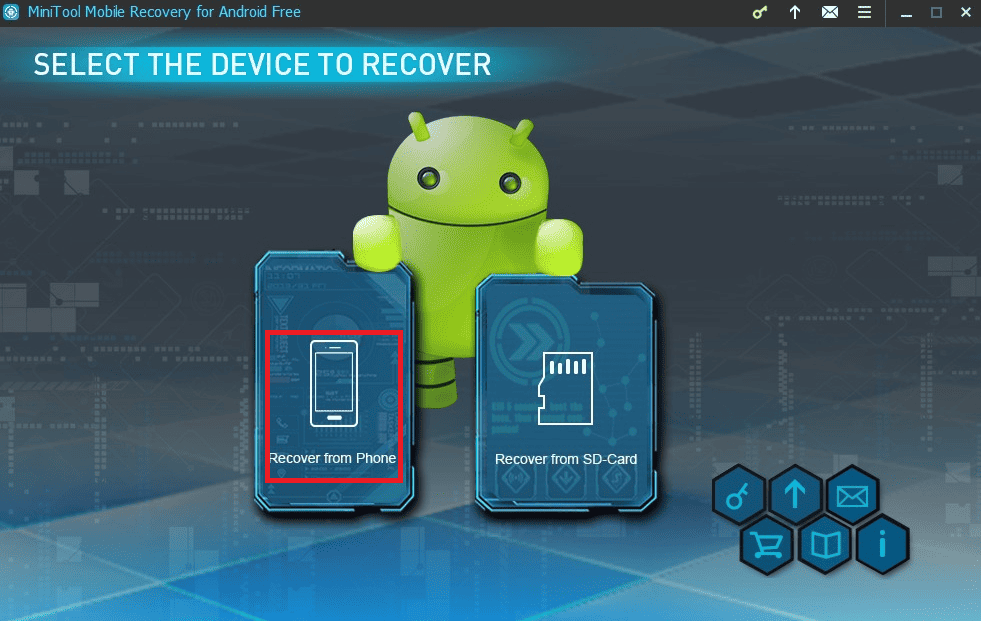
- Download and install MiniTool on your PC.
- Open the software and click on Recover from Phone.
- Now, connect your phone to the PC using USB when you reach the next screen.
- You’ll get a pop-up to allow USB debugging.
- Tick the checkbox for Always Allow from this computer.
- Click on OK.
- You’ll get two scan options Quick Scan and Deep Scan.
Note- In Quick Scan, you can recover your lost or deleted contacts, call records, and, messages. In Deep Scan, your whole device will be scanned and you’ll get all types of data available to be recovered on MiniTool.
- We are taking Deep Scan as an example.
- Click on Deep Scan.
- Click on Next.
- Select the data you want from the left panel.
- Click on Recover.
- Now, save the data on your computer.
How to Recover Contacts from SIM Card
Follow the steps mentioned below to recover contacts from the SIM card:
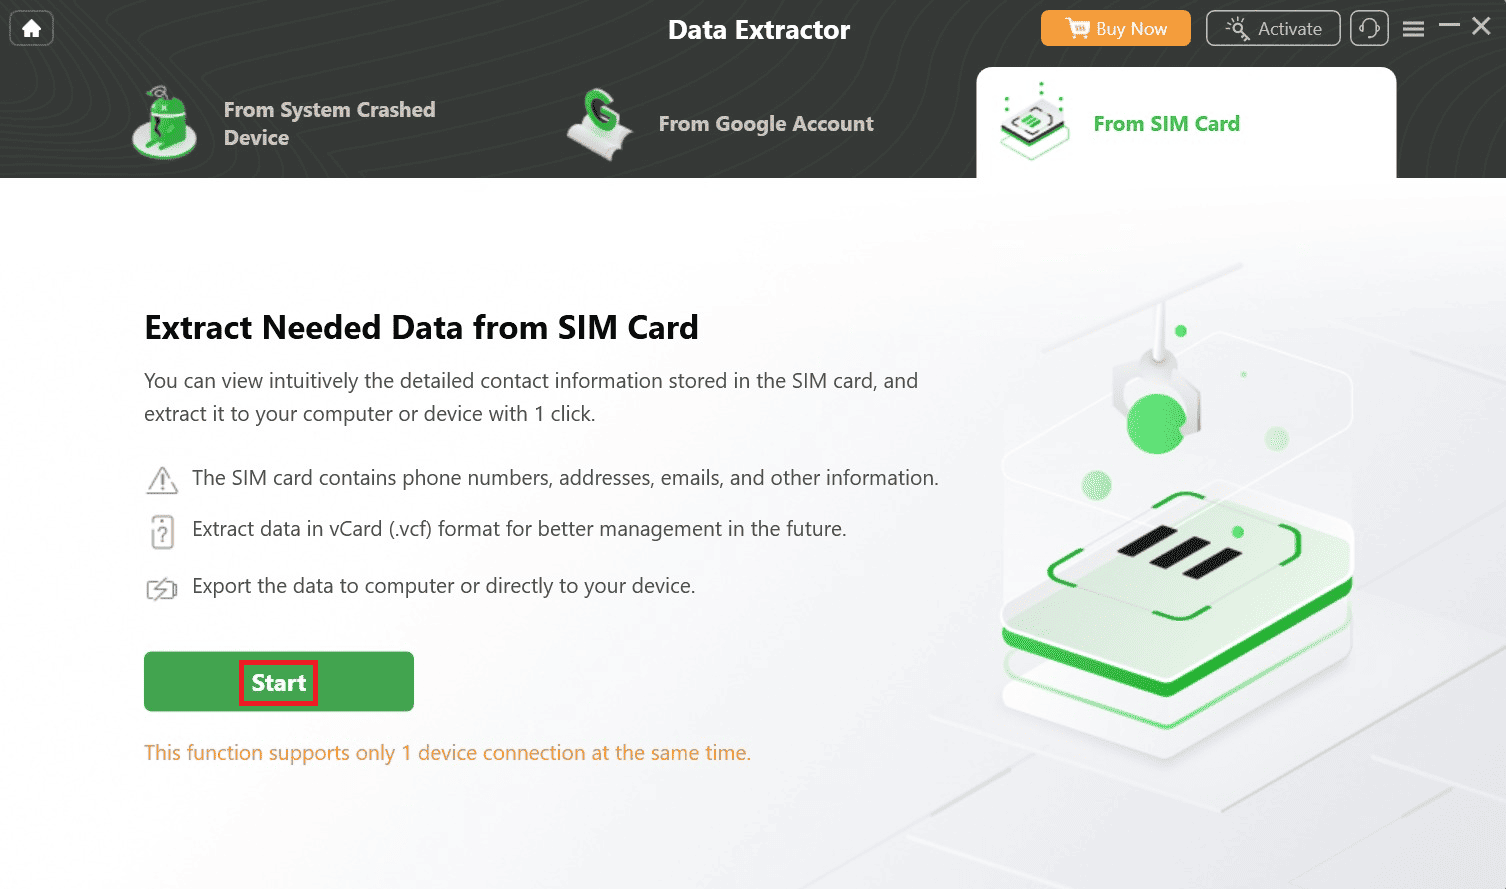
- Download and Install DroidKit on your computer.
- Go to Data Extractor.
- Click on From SIM Card.
- Connect your phone containing the SIM card to your computer using a USB cable.
- Click on Start.
- After the SIM card is scanned, you can select the contacts you want to restore.
- You can select to restore then To Device or To PC.
So, this is how you can recover contacts on your Android device. If you have any queries or suggestions do let us know in the comments section below. Stay tuned to Techcult for more such helpful guides.
